
Table of Contents
- Why solar system maintenance matters
- Understanding solar panel degradation and lifespan
- Solar panel cleaning frequency and performance
- Solar system safety inspection checklist
- Monitoring your system’s health and performance
- Solar inverter replacement cost and timing
- Creating a maintenance schedule for long-term reliability
Why solar system maintenance matters
Proper maintenance ensures steady returns for 25+ years. Panels, inverters, wiring, and mounting hardware degrade over time. Without scheduled inspections and cleaning, your investment declines silently and performance losses often go unnoticed until electricity bills rise. Beyond money, there’s safety: faulty wiring, corrosion, or micro-cracks create electrical hazards. This guide covers what needs to happen to keep your solar system reliable, how to spot problems early, and how to create a maintenance schedule for your climate and system type.
Understanding solar panel degradation and lifespan
Solar panels degrade gradually, losing about 0.5 per cent of output capacity per year (peer-reviewed research). A 10-kilowatt system might produce 9.5 kilowatts in year two and 9.0 kilowatts in year three. Over 25 years, expect roughly 12-15 per cent total degradation if nothing else goes wrong.
Modern photovoltaic panels typically last 25-30 years under normal conditions, with manufacturers guaranteeing 80-90 per cent of original output after 25 years. Environmental factors accelerate degradation: dust, salt spray, bird droppings, and moisture cause soiling and corrosion. Extreme temperature swings stress materials. Potential Induced Degradation (PID) occurs when voltage differences cause ion migration within the panel structure, reducing efficiency.
The inverter typically lasts 10-15 years and is often the first component needing replacement. Monitor your system’s performance ratio (actual output versus theoretical maximum) for early warning of degradation. If your ratio drops more than 3-5 per cent in a single year, something’s wrong.
Solar panel cleaning frequency and performance
Dirty panels lose output significantly. Light dust might cost 2-5 per cent; heavy soiling, bird droppings, and pollen buildup can cut output by 15-25 per cent or more (peer-reviewed research). In dry climates, dust accumulates steadily. Near coasts, salt spray accelerates the problem. In areas with frequent rain, panels self-clean naturally.
Most systems benefit from cleaning every 6-12 months. In dusty regions or areas prone to bird activity, quarterly cleaning may be justified. Coastal properties should lean toward more frequent schedules.
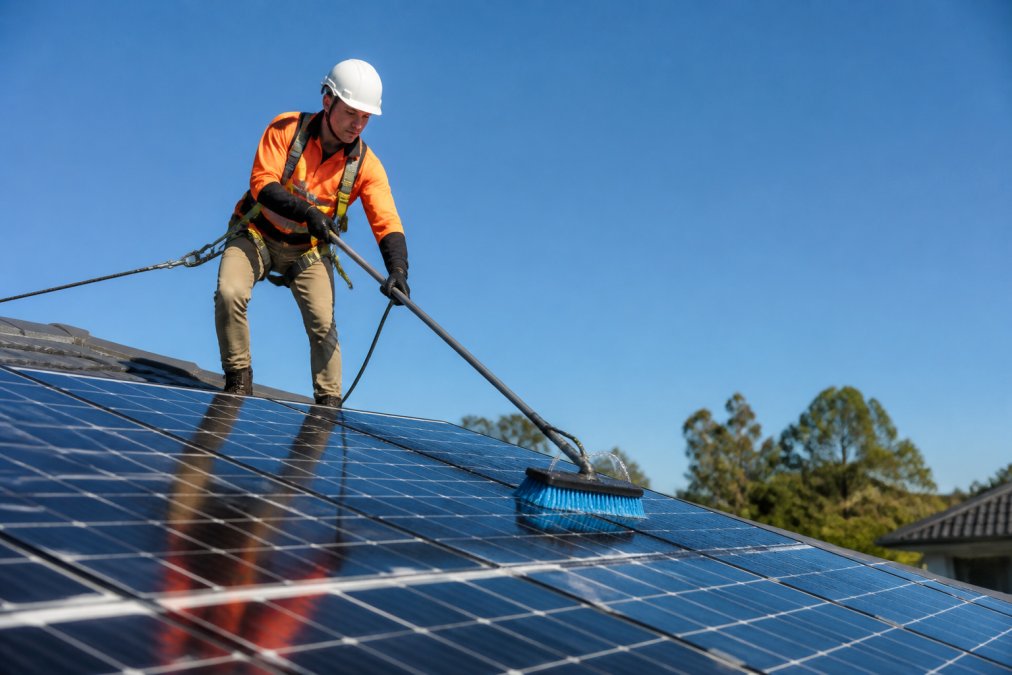
DIY cleaning works if you’re comfortable on a roof. Use soft brushes, deionised water, and avoid abrasive materials or high-pressure washers, which can damage seals and force water into electrical connections. Professional cleaning services know the right techniques and carry insurance while spotting problems you might miss: loose mounting hardware, cracks, or corrosion.
Clean panels in early morning or late afternoon when they’re cool. Cleaning hot panels with cold water can cause thermal stress and micro-cracks.
Solar system safety inspection checklist
A qualified electrician or accredited installer should inspect your system annually. This isn’t optional if you want to catch problems early and maintain warranty coverage. Many warranties require documented maintenance to remain valid.
What a proper inspection covers
A qualified inspection must include:
- Visual panel inspection: Look for cracks, discolouration, water ingress, loose frames, or physical damage. Micro-cracks reduce output and can worsen into complete failure.
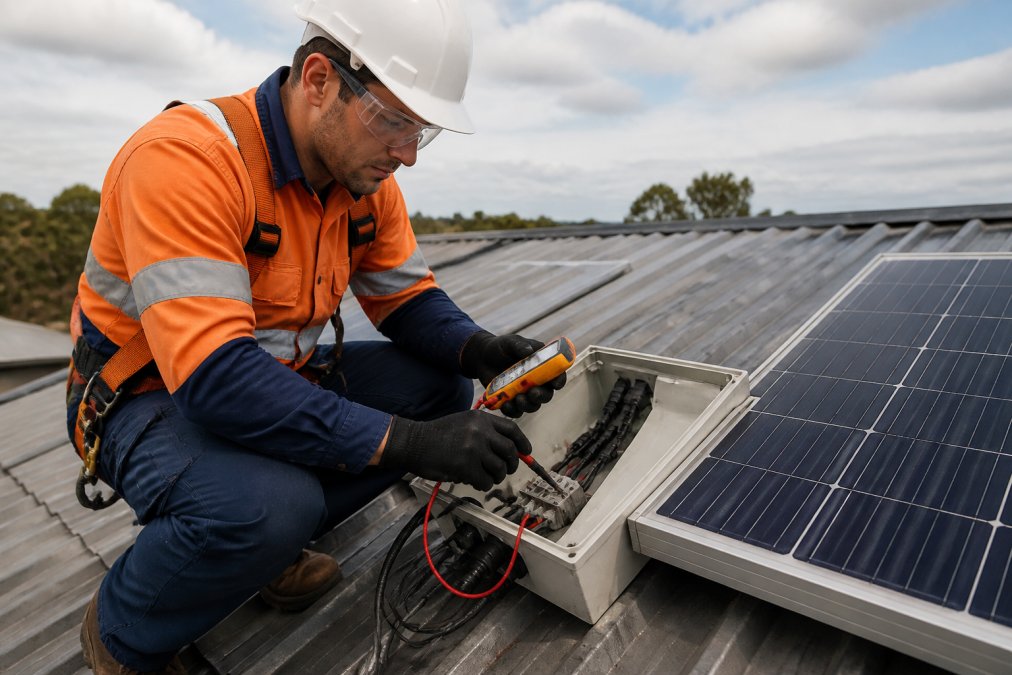
- Electrical safety testing: Voltage and current measurements confirm the system operates within specifications. Insulation testing detects wiring faults that could create shock hazards or fire risk.
- Inverter health check: Listen for unusual noises, check error codes and event logs, verify cooling fan operation. Inverters that are hot to the touch or displaying fault messages need service.
- Wiring and connection integrity: Corrosion on terminals, loose connections, or damaged conduit increase fire risk and reduce efficiency.
- Mounting hardware assessment: Bolts and brackets corrode over time, especially near salt water. Loose hardware can lead to panel movement and electrical disconnection.
- Grounding and safety switch testing: Proper grounding prevents electrical hazards. Safety switches (RCDs and DC isolators) must disconnect the system if faults are detected.
- Switchboard and isolator inspection: Check that all isolators are accessible, clearly labelled, and functional.
Documentation requirements for warranty validity
Manufacturers require documented evidence of inspections. Your warranty is only valid if you can prove you’ve maintained the system according to manufacturer specifications.
What you must document:
-
Inspection reports: The inspector must provide a written report including date of inspection, inspector’s name and accreditation number (e.g., Clean Energy Council accreditation), system details, findings, measurements, recommendations, and inspector’s signature and contact details.
-
Cleaning records: If you clean panels yourself, keep a log with dates and photos. If you hire a professional, request a certificate of cleaning.
-
Repair and maintenance records: Every time work is done on the system, get a receipt or invoice that includes what was repaired, the date, technician’s name and qualifications, parts used, and cost.
-
Performance data: Export and archive your monitoring app data annually to create a record of system performance over time.
-
Photographs: Take date-stamped photos during inspections, especially of any damage or issues.
Where to store documentation:
Keep originals in a folder at home. Scan and store digital copies in cloud storage. If you sell your home, provide the new owner with all documentation, it increases property value and demonstrates proper care.
Why documentation matters for warranty claims
When a panel fails or an inverter stops working, the manufacturer will ask: "Can you prove this system was properly maintained?" Without inspection reports, cleaning records, and repair documentation, the manufacturer can deny your warranty claim. For example, if a panel develops a micro-crack and fails five years after installation, annual inspection reports showing the panel was intact in years 1-4 and the crack appeared between year 4 and year 5 provide evidence supporting a warranty claim.
Choosing a qualified inspector
Look for Clean Energy Council accreditation (or equivalent state-based accreditation), experience with your specific inverter and panel models, willingness to provide a detailed written report, and insurance and liability coverage. Expect to pay for a thorough annual inspection. A thorough inspection that catches a potential inverter failure before it happens is money well spent.
Inspection timing and frequency
Schedule your annual inspection before your system’s warranty period ends each year. After major weather events (severe storms, hail, or bushfires), conduct an additional inspection even if it’s not your scheduled date. Document any damage with photos and get a formal inspection report. Keep inspection records for the life of the system (25+ years). optimizing solar panel efficiency.
Monitoring your system’s health and performance
Your monitoring system is your early warning system. Most modern installations include a monitoring app that tracks real-time output, daily yield, and cumulative generation.
Understanding performance metrics
The most important metric is your performance ratio, the percentage of theoretical output your system actually delivers. On a clear day with no soiling or faults, a well-designed system should achieve 75-85 per cent of its theoretical maximum. If your ratio consistently sits at 70 per cent or below, something needs attention.
Track your daily yield against historical averages for the same season. A 3-5 per cent year-on-year decline is normal degradation. A 10 per cent drop in a single month signals a problem.
Interpreting inverter error codes
Common codes include:
- Grid voltage error: Usually a grid-side issue that resolves when grid conditions normalise. If it persists for hours, contact your electricity distributor.
- Temperature shutdown: Inverters shut down if internal temperature exceeds safe limits. Check that cooling vents aren’t obstructed. Repeated shutdowns suggest a ventilation problem.
- Insulation fault: Indicates a potential electrical fault in DC wiring or panels. Shut down the system at the isolator switch and contact a qualified electrician, as insulation faults can create fire hazards.
- Ground fault: Signals a grounding problem. Shut down and call a technician.
- Arc fault detection (AFD): Modern inverters detect arcing in DC wiring, a fire risk. A technician must investigate before restart.
If an error code reappears repeatedly, it’s a pattern requiring professional diagnosis.
Spotting performance drops before they become failures
A sudden drop in output usually signals a problem. If your system normally produces 50 kilowatt-hours on a clear day and suddenly drops to 35 kilowatt-hours with no weather change, something’s wrong. Check the weather first, then look for partial shading, review the inverter status and event log, inspect panels visually for soiling or damage, and check the string breakdown. If weather, shading, and soiling don’t explain the drop and the inverter shows no error codes, the problem is likely in the electrical infrastructure: a loose connection, corroded terminal, or damaged wiring requiring a qualified technician.
Setting up alerts and tracking trends
Configure monitoring app alerts for daily yield below a threshold, inverter offline, and error code occurrence. These alerts catch problems within hours, not weeks. Track your annual yield trend, a 3-5 per cent decline year-over-year is normal; a 10 per cent decline warrants investigation.
When to call a technician
Contact a qualified electrician or accredited installer if an error code persists after the inverter resets, daily output drops more than 10 per cent without explanation, your performance ratio falls below 70 per cent on clear days, the inverter is offline for more than a few hours, or you notice physical damage to panels, wiring, or mounting hardware.
Solar inverter replacement cost and timing
The inverter is your system’s most likely component to need replacement. String inverters typically last 10-15 years. Microinverters often last longer, but individual failures cost more to fix. Replace an inverter when it stops working reliably. Early warning signs include repeated error codes, failure to start in the morning, reduced output on clear days, or audible buzzing or humming.
Replacement involves cost and downtime. Your system won’t generate power while the inverter is being swapped. This is usually a half-day job for a qualified electrician. Before replacing, confirm the inverter is actually the problem through qualified technician testing.
Creating a maintenance schedule for long-term reliability
A structured maintenance plan keeps your system healthy and catches problems early.
Monthly: Review your monitoring app to check that daily output matches expectations for the weather.
Quarterly (or after storms): Visual inspection from the ground for obvious damage, debris on panels, or loose mounting hardware.
Annually: Professional inspection by a qualified electrician or accredited installer before your system’s warranty period ends each year.
Every 6-12 months: Panel cleaning, depending on your climate and soiling rate. Coastal areas and dusty regions lean toward six months; areas with regular rain can stretch to twelve months.
Every 10-15 years: Plan for inverter replacement. Start budgeting when it approaches ten years old.
Every 25-30 years: Evaluate panel replacement. Newer panels are more efficient, and replacement costs have fallen.
Keep records of everything: cleaning dates, inspection reports, repair work, parts replaced, and performance data. This documentation supports warranty claims and helps future owners understand the system’s history if you sell your home.
Solazone Australia can help develop a maintenance plan tailored to your system and climate. With over 40 years of technical expertise, the team understands the specific challenges faced by installations across different regions.
Long-term maintenance of solar systems requires consistency. The systems that deliver the best returns over 25+ years are the ones that get regular attention: annual inspections, periodic cleaning, and prompt attention to problems. Solazone Australia’s experienced installation teams understand the maintenance needs of Australian solar systems and can help you establish a schedule that protects your investment and keeps your system operating safely and efficiently for decades.
Frequently Asked Questions
How often should solar panels be professionally serviced?
Most manufacturers recommend a professional inspection every 2-3 years, though annual monitoring via your system's app can catch issues early. If you live in a dusty area or experience frequent storms, more frequent inspections may be warranted. A qualified electrician should check wiring integrity, mounting hardware, and electrical safety as part of preventative maintenance. This helps extend your system's lifespan and maintain warranty coverage.
What is the typical lifespan of a residential solar system?
Modern photovoltaic panels typically last 25-30 years or more, though they don't stop working after that, output simply declines gradually. Inverters, the component that converts DC to AC electricity, usually last 10-15 years and will likely need replacement during your system's lifetime. Monitoring systems and battery storage have varying lifespans depending on usage. Regular maintenance and compliance testing help maximise system health and longevity.
Does cleaning solar panels actually improve energy output?
Yes, soiling from dust, debris, and bird droppings reduces efficiency by 5-25% depending on your environment. Cleaning frequency depends on local conditions, coastal areas and dusty regions need more frequent attention. Professional cleaning is recommended annually or twice yearly in high-soiling areas, though DIY cleaning with soft brushes and water works for accessible systems. Always follow safety protocols and check your warranty before cleaning, as improper methods can void coverage.
What signs indicate my solar inverter needs replacing?
Watch for error codes on your inverter display, reduced system output despite good weather, or unusual noises. If your monitoring app shows voltage testing anomalies or the inverter is over 12-15 years old, replacement may be imminent. A qualified electrician can diagnose inverter issues through compliance testing. Inverter replacement cost depends on system size and model, so obtain quotes from accredited installers. Replacing a faulty inverter quickly prevents performance loss and protects your warranty.
This article was written using GrandRanker