
How to install a solar pool blanket
Daisy Pool Blankets are easily installed
Care and Installation Instructions
Installation of a solar pool blanket should be a simple procedure, and with care the solar blanket should fit neatly on your pool, effectively cutting the costs of heating and cleaning.
All year round the solar blanket works to conserve water and heat loss, raising the temperature of your pool approximately 5 to 8 degrees above that of an uncovered pool. The solar blanket is an innovative and effective way to save on the costs of maintaining your swimming pool. Using the free energy of the sun the solar pool cover keeps your pool warmer all year round, extending your swimming season beyond that of an uncovered pool. The solar blanket also helps to keep your pool clean and free of debris, saving on filter maintenance.
Fitting the pool blanket:
1. Before trimming your pool cover it is important to float the cover on your pool for a few hours, allowing it to soften, and for any packing creases to settle.
It may take longer when the weather is overcast, sunny days are best for this procedure. The blanket should be placed on the surface of your pool with the bubble side facing downward.
2. When your cover has settled it is ready to cut. Use a pair of sharp household scissors, best used for this job.
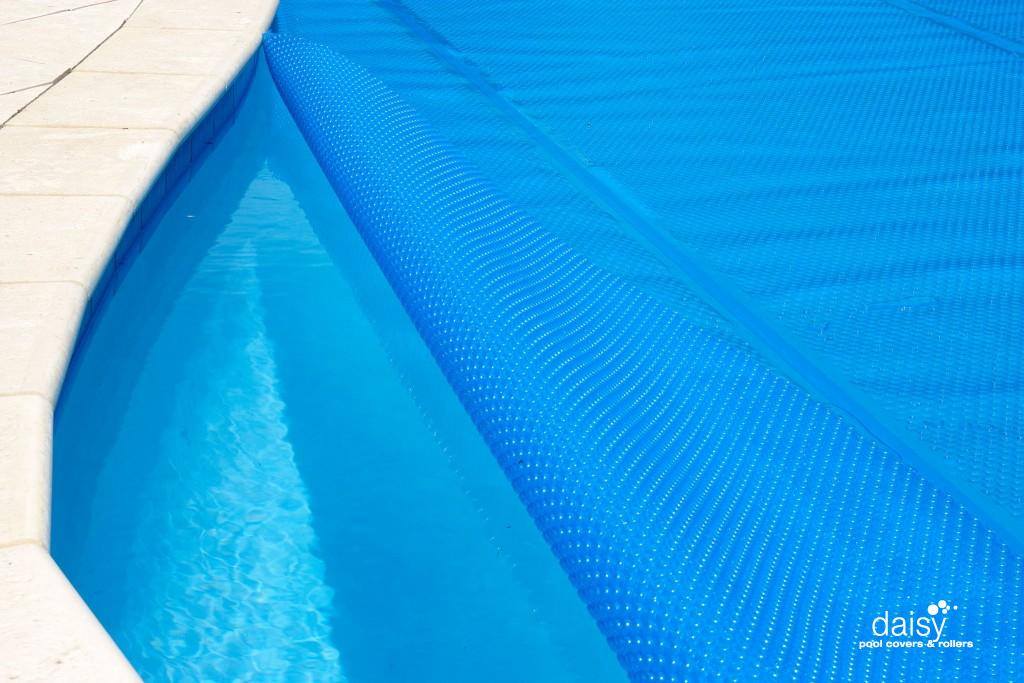
The solar blanket should be cut 3 to 5 cm over the edge of your pool and up the tiles, take care that it remains below the rim of the pool. Your cover will float on the pool surface with the edges curved up the tiling, creating a dish like effect, preventing any debris from entering the pool.
3. With your scissors cut a small flap (approximately 5 cm) in the pool blanket for your skimmer box.
This will allow you to hose any debris that collects on your cover into the skimmer box, keeping your pool clean and saving you money on unnecessary filter maintenance.
4. It is important to take care when cutting your blanket as it is easy to cut too much off!
5. It is best to make the cover a little too big at first, and then trim it to the exact size a few days later when the blanket has settled, and you are sure of the positioning. If two people are present when the blanket is being cut, it makes the task so much easier – one to do the cutting and the other to hold the blanket steady in place. This will help to ensure that the blanket is not accidentally cut too small. Once your blanket has been cut to size, it does not require weights or ties to keep it in place. With the bubble side placed downward, it will remain in position through both heavy winds and rain.
How to protect your Solar Pool Blanket:
Folded or rolled, your Solar Blanket should always be protected from high temperatures and direct sunlight.
All plastic materials will naturally deteriorate when exposed to sunlight, with the addition of UV stabilizers this deterioration is slowed. Your swimming area is one of the harshest environments for any plastic product. Sunlight chlorine and heat will all take their toll on the UV stabilizing system in your solar pool cover. Excessive exposure to these elements will accelerate the usage of the UV stabilizer, thus reducing the life span of your pool cover, and voiding your warranty. For this purpose the protective Over-cover that is provided with your solar pool blanket roller must be in place at all times when your solar blanket is not on the pool. (Over covers are also available for purchase separately.)
The same sunlight properties that are used by your blanket for its heating purposes, may cause your blanket to be damaged if it is not kept below the recommended temperature. If your blanket is not stored below 45 degC, damage to the material may be irreparable. Extra high temperatures may cause layers of the blanket to fuse together when it is stored.
Caution.
DAMAGE CAUSED BY IMPROPER USE OF THE SOLAR POOL BLANKET, OVER-CHLORINATION, AND EXPOSURE TO DIRECT SUNLIGHT WHEN OFF THE POOL, WILL RESULT IN VOIDING THE WARRANTY.
Got a question? We are here to help.