
Table of Contents
- Solar Installation Timeline and Process: What to Expect
- Phase 1: Initial Enquiry and Site Assessment
- Phase 2: Quote, Permits, and Grid Approvals
- Phase 3: Installation Day and Physical Setup
- Phase 4: Meter Changeover and Grid Connection
- Phase 5: Commissioning and System Activation
- Factors Affecting Your Solar Installation Timeline and Process
- Solar Installation Checklist Australia: Your Step-by-Step Guide
Last Updated: July 25, 2026
Solar Installation Timeline and Process: What to Expect
Understanding the solar installation timeline is critical for Australian homeowners planning their transition to renewable energy. The physical installation typically takes 1-3 days, but the total project timeline from initial enquiry to grid activation usually spans 6-12 weeks. That gap exists because administrative phases, permits, grid approvals, and meter changeover, add weeks or months to the calendar.
The physical solar installation takes 1-3 days. The total solar installation timeline, from enquiry to activation, typically spans 6-12 weeks. The difference is permits, grid approvals, and meter changeover, not the installation crew’s speed.
Phase 1: Initial Enquiry and Site Assessment
Your solar installation timeline begins when you contact a solar retailer. A qualified installer will evaluate your roof orientation, pitch, shading patterns, structural capacity, and electrical setup during a 30-60 minute site assessment. They’ll check for obstacles like trees, chimneys, and aerials that might cause shading, photograph your roof, review your electricity bill, and discuss your goals.
Not all roofs are suitable. A north-facing, unshaded roof in good condition is ideal. If your roof needs structural work, has asbestos sheeting, or your electrical switchboard requires replacement before solar can be safely connected, these discoveries add time and cost. A standard assessment-to-quote turnaround is 3-7 days; complex sites requiring structural or electrical assessments may take 2-3 weeks.
Ask your solar installer upfront whether your roof needs pre-installation work. If it does, factor 2-4 weeks into your timeline for structural repairs or electrical upgrades before installation can proceed.
Phase 2: Quote, Permits, and Grid Approvals
This phase is where most delays occur. Once you’ve accepted a quote and paid a deposit, your retailer must apply for permits and grid connection approvals. Regional variations matter significantly here.
In South Australia, SA Power Networks (SAPN) is the network distributor. Other states have Energex (Queensland), Ausgrid (NSW), Powercor (Victoria), or regional distributors. These organisations must approve any system connecting to the grid.
The application process includes a connection application with technical specifications, electrical drawings, and a fee (usually $100-$300). The network distributor reviews the application to ensure compliance with Australian Standards (AS/NZS 4777). Approval typically takes 5-10 business days but can stretch to 3-4 weeks if additional information is requested.
Building approval is usually straightforward, most councils issue a "deemed-to-comply" certificate for standard rooftop systems within 5-10 days. Some councils require a formal development application, adding 2-4 weeks. Electrical compliance is handled by your installer’s CEC-accredited electrician, who obtains an Electrical Safety Compliance Certificate (ESCC) before the system is energised.
The combined permit and grid approval phase typically takes 3-6 weeks. Complex systems or delayed network distributor responses can add 2-3 weeks.
If your solar retailer doesn’t proactively chase the network distributor for approval status, you could wait in limbo. Ask for weekly updates on approval status, especially past the 10-day mark. Delayed approval can push your installation date back by weeks.
Phase 3: Installation Day and Physical Setup
Once permits and grid approvals are in place, your solar installation enters the physical phase, the fastest part.
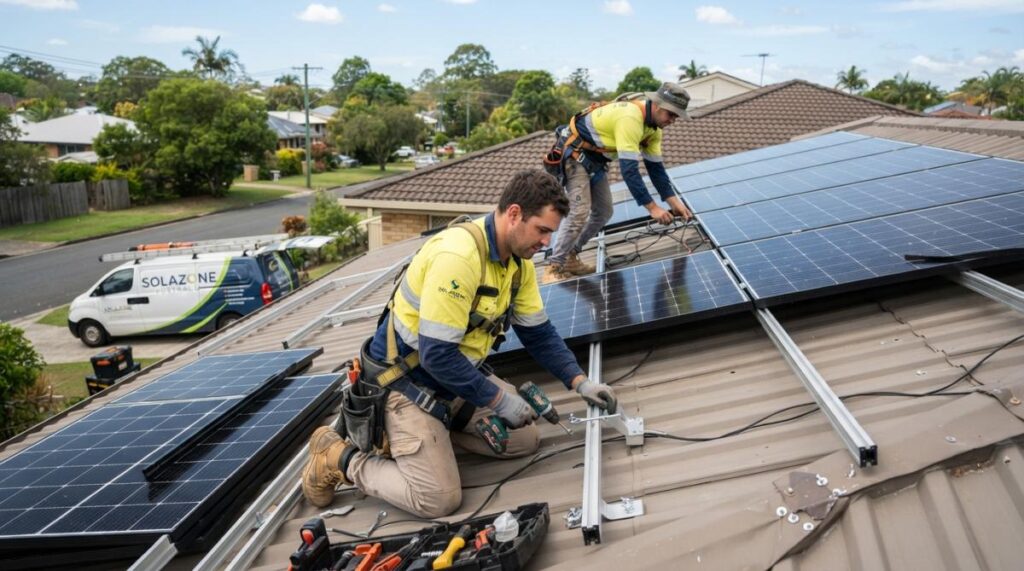
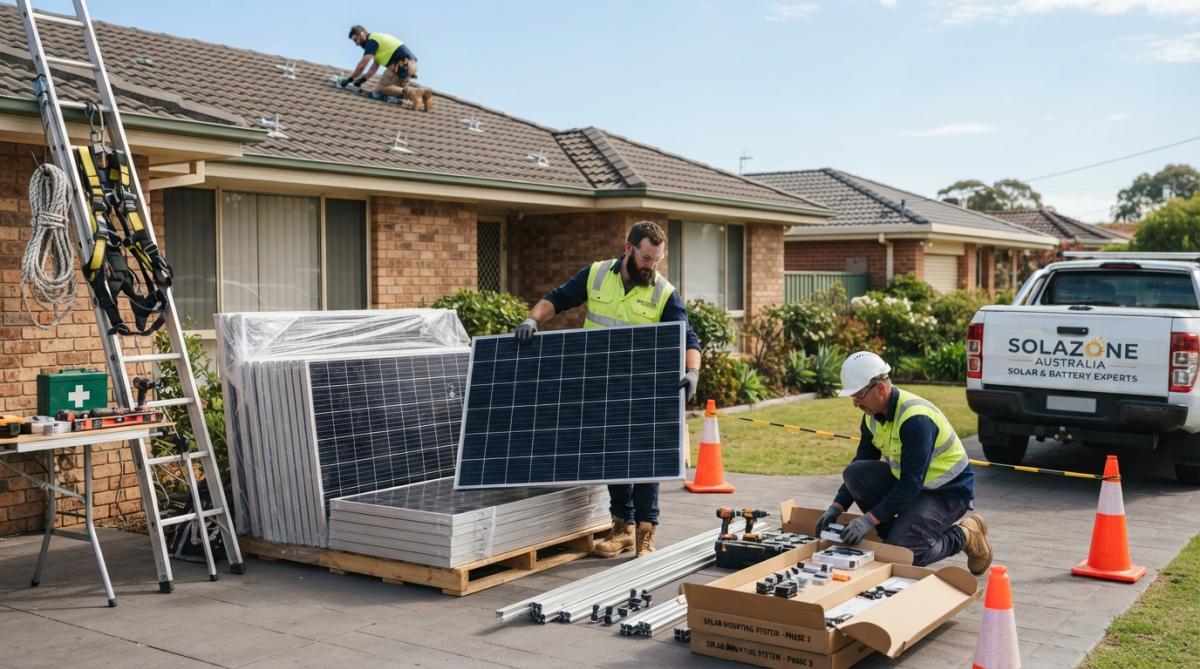
Installation typically starts at 7:00-8:00 AM with a crew of 2-3 installers plus an electrician. The process unfolds in this order: roof preparation (30-60 minutes), mounting installation (1-2 hours), panel installation (1-2 hours), inverter installation (30-60 minutes), electrical wiring and safety switches (1-2 hours), and final checks (30 minutes). A standard residential system (5-10 kW) typically takes 6-10 hours; larger systems or complex roof layouts may extend to a full day or occasionally into a second day.
The mounting system is the foundation of your installation. Quality matters, poor mounting leads to panel degradation and water ingress. Wiring must comply with AS/NZS 3008, with DC wiring typically 4-6 mm² copper cable and AC wiring sized according to current and voltage drop calculations. The inverter synchronises with the grid, converts DC to AC, and includes safety features like anti-islanding. Modern inverters include monitoring capability accessible via smartphone app.
Phase 4: Meter Changeover and Grid Connection
After installation, your energy retailer must replace your old electricity meter with a smart meter that measures power flowing both ways, consumption and export.
The meter changeover is typically scheduled 1-2 weeks after installation. The meter technician visits your home (usually 30-60 minutes) and installs the new smart meter. Your power supply is briefly interrupted, typically 10-15 minutes. After installation, your energy retailer activates the feed-in tariff arrangement, and you officially start earning credit for excess solar power exported to the grid. Feed-in tariff rates in 2026 typically range from 5-15 cents per kilowatt-hour, depending on your arrangement.
Before your meter changeover, contact your energy retailer and confirm your feed-in tariff rate. Some retailers offer promotional rates for new solar customers. Lock in the best rate available before the meter is installed.
Phase 5: Commissioning and System Activation
Commissioning is the final step. Before this occurs, your installer’s electrician must complete an Electrical Safety Compliance Certificate (ESCC) confirming the installation meets Australian Standards (AS/NZS 4777) and is safe to energise. Only CEC-accredited installers can certify residential solar systems.
Commissioning typically happens on installation day or within 1-2 days after. The electrician performs final electrical tests, confirms the inverter synchronises correctly with the grid, and activates the system. Once activated, the inverter begins generating power immediately.
Your inverter includes a monitoring app that tracks real-time and historical power generation. Setup is straightforward: create an account with the inverter manufacturer, register your inverter’s serial number, and link it to WiFi. Within 24 hours, you’ll see live data showing power generation and consumption. Feed-in tariff activation happens once the smart meter is installed and your energy retailer processes the changeover. Credits appear on your electricity bill within 1-2 billing cycles.
Factors Affecting Your Solar Installation Timeline and Process
The 6-12 week estimate assumes a straightforward installation. Several factors can extend or compress this timeline.
A small 5 kW system on a simple, unshaded roof with a modern switchboard takes the shortest time. A 10+ kW system, especially one requiring switchboard upgrades or incorporating battery storage, adds complexity. Battery systems require additional approvals, wiring, and commissioning, adding 2-4 weeks to the approval phase.
Network distributor response times vary. SAPN in South Australia typically approves within 7-10 days. Ausgrid in NSW can take 2-3 weeks. Regional networks may be slower. If you live in a regional area with high solar installation volumes, add 1-2 weeks to your timeline.
Common delays include incomplete applications (ask your installer to verify before submission), switchboard upgrades (adds 1-2 weeks and costs $1,500-$3,000), roof repairs (must be fixed before installation), weather delays (installers typically reschedule within 1-2 weeks), and meter supply delays (rare but can add 2-3 weeks).
To stay on track, maintain regular contact with your solar retailer and request weekly updates on permit and approval status. If you’re past the expected timeframe for any phase, ask why and what’s being done to accelerate the process.
Solar Installation Checklist Australia: Your Step-by-Step Guide
| Phase | Task | Typical Duration | Who Does It |
|---|---|---|---|
| 1 | Initial enquiry and site assessment | 1 week | Solar retailer |
| 2 | Quote review and deposit | 3-7 days | You (homeowner) |
| 3 | Building permit application | 5-10 days | Solar retailer |
| 4 | Network distributor approval | 7-21 days | Network distributor |
| 5 | Installation day | 1 day | Installation crew + electrician |
| 6 | Meter changeover | 1 day | Meter technician |
| 7 | Commissioning and activation | 1 day | Electrician |
| Total | Enquiry to activation | 6-12 weeks | Various |
Pre-installation preparation
Before installation day, clear the area around your switchboard for electrician access, trim overhanging tree branches that might shade panels, inform neighbours if scaffolding is needed, ensure someone is home to provide access, and take photos of your current meter reading.
Post-installation maintenance timeline
After activation, maintenance is minimal. Modern solar panels require no active maintenance and are cleaned by rain in most climates. In dry regions, occasional hosing (1-2 times per year) can improve output by 2-3%. Your inverter typically has a 10-year warranty. Check your monitoring app monthly to confirm expected generation. A sudden 10%+ output drop might indicate a fault, contact your installer if this occurs. Most systems produce for 25+ years, with panel efficiency degrading at roughly 0.5% per year.
Your solar installation timeline moves fastest when you’re proactive: confirm permit status weekly, ensure your roof and switchboard are in good condition before installation, and lock in your feed-in tariff rate before meter changeover. Small delays in early phases compound, so staying ahead of deadlines saves weeks.
At Solazone Australia, we’ve simplified the solar installation timeline for thousands of customers across Australia. Our CEC-accredited installers manage permits and approvals on your behalf, coordinate with network distributors, and handle meter changeover logistics. With over 40 years of technical expertise and transparent communication, we keep you informed at every phase. Ready to start your solar journey? Contact Solazone Australia today for a free site assessment and quote, and we’ll map out your exact timeline based on your home’s specific needs.
Frequently Asked Questions
How long does the solar installation timeline and process take in Australia from start to finish?
The complete solar installation timeline typically spans 4-12 weeks from initial enquiry to full system activation. Physical installation itself takes 1-3 days, but the total process includes site assessment (1-2 weeks), permits and grid approvals (2-6 weeks depending on your network distributor), meter changeover, and commissioning. System complexity, regional variations, and approval backlogs can extend this timeframe. Your solar retailer should provide a detailed project management schedule during the quote stage.
What permits and approvals do I need before solar installation in Australia?
You'll need council building approval and network distributor (such as SAPN) grid connection approval. Your solar installer typically handles these applications, but timelines vary by region. Some areas process approvals within 2-3 weeks; others may take 6+ weeks. Your energy retailer must also approve the meter changeover. Most installers include these steps in their project timeline, though delays can occur if additional documentation is required or if your roof suitability assessment reveals structural concerns.
What should I expect on solar installation day, and how long will it take?
Physical installation typically takes 1-3 days depending on system capacity and roof complexity. Your installation crew will arrive early, set up safety equipment, install mounting hardware, position panels, run wiring, and install the inverter. Expect noise and activity on your roof and inside your electrical switchboard. You'll need roof access and may be asked to stay clear of work areas. The crew will conduct electrical safety checks before leaving. After installation, you'll wait for meter changeover and commissioning before the system activates and begins feeding power to the grid.
How do I choose a solar installer in Australia, and what should I check?
Look for CEC-accredited installers with proven experience and transparent project management. Check credentials, ask for references, and review their warranty and post-installation support terms. Request a detailed timeline and communication plan upfront, this prevents the delays many customers experience. Compare quotes from multiple installers, but don't choose based on price alone; cheaper options often mean longer timelines or lower-quality equipment. Verify they use quality solar systems, understand your regional grid requirements, and can explain how they'll handle permits and approvals throughout your installation timeline and process.
What financial milestones should I expect during the solar installation timeline?
Typically you'll pay a deposit (often 25-50% of the total cost) to secure your installation date and begin the permit process. A second payment is often due before installation day. The final balance is usually due upon completion or shortly after. Some installers offer payment plans. Rebates (Small-scale Technology Certificates) may reduce your upfront cost, your installer can advise on current eligibility. Always confirm the payment schedule, deposit protection, and refund conditions in writing before signing. This clarity helps avoid surprises and ensures smooth project management from quote acceptance through activation.
This article was written using GrandRanker