
Table of Contents
- Safety First: Electrical Precautions Before Troubleshooting
- Visual Inspection: Checking Solar Panels for Physical Damage
- Understanding Solar Inverter Fault Codes
- Testing Electrical Connections and Circuit Breakers
- Monitoring System Performance and Output
- Addressing Shading, Soiling, and Debris Buildup
- When to Call a CEC-Accredited Solar Electrician
- Conclusion
Last Updated: August 21, 2026
Safety First: Electrical Precautions Before Troubleshooting
Before troubleshooting your solar system, understand that you’re dealing with live electrical circuits. Solar arrays generate direct current (DC) voltage that can be lethal, and the inverter converts that to alternating current (AC) for your home. Both are dangerous if you don’t respect them.
The golden rule: if you’re uncomfortable working around electricity, stop and call a CEC-accredited solar electrician. A mistake here can kill you or damage your equipment beyond repair.
Here’s what you need to do before troubleshooting:
- Turn off the AC and DC disconnects. Flip both switches and wait five minutes to allow capacitors to discharge.
- Check the display panel. Most modern systems show error codes on the inverter screen or via a monitoring app.
- Never work in wet conditions. Rain, damp grass, or wet hands near electrical components cause accidents.
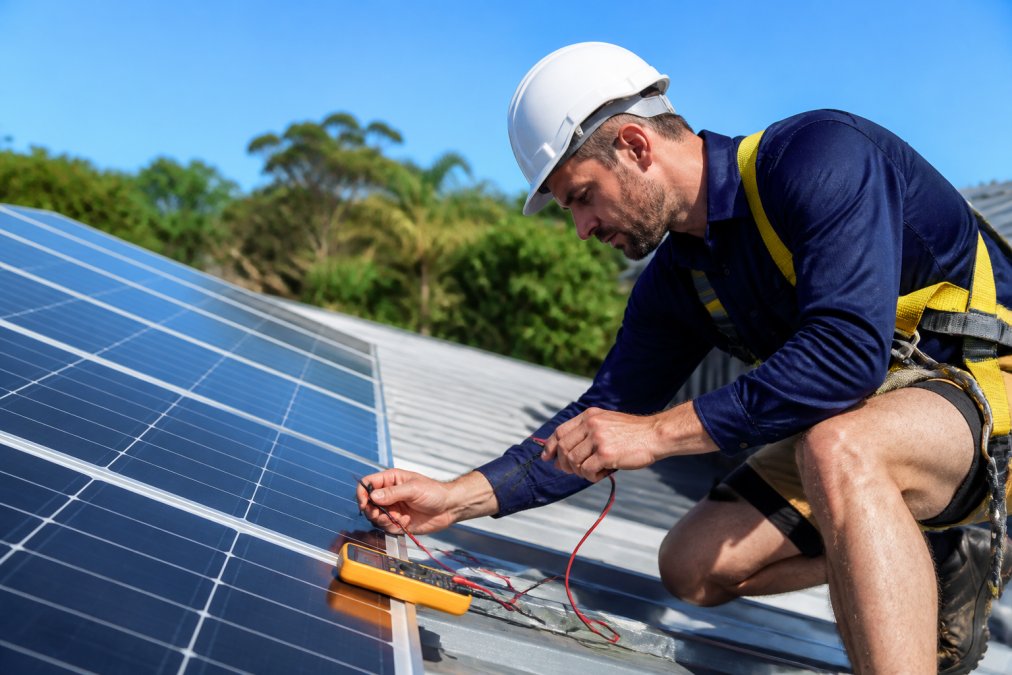
- Use a multimeter safely. Wear insulated gloves and keep one hand in your pocket to prevent current from crossing your chest.
- Photograph error codes before clearing them. You’ll need the image if you call a technician.
- Know your system type. String inverters (one large unit) and micro-inverters (one per panel) troubleshoot differently.
If you see smoke, hear buzzing, smell burning plastic, or notice scorch marks, do NOT troubleshoot it yourself. Turn off the AC and DC disconnects immediately and call a CEC-accredited solar electrician. These are signs of serious faults requiring professional diagnosis.
Visual Inspection: Checking Solar Panels for Physical Damage
Start with what you can see. Physical damage to solar panels reduces output significantly and can become a warranty issue.
Walk around your roof (safely, from the ground with binoculars if needed) and look for these signs:
Cracks in the glass. Even hairline cracks compromise power generation. Document with photos and contact the panel manufacturer about warranty claims.
Delamination (white or cloudy patches). This means internal layers are separating. Delaminated panels generate less power and can fail completely. This is a warranty issue.
Burn marks or dark spots on the glass. These indicate internal damage from manufacturing defects or impact. The panel generates less power than rated capacity.
Loose or corroded mounting hardware. Check bolts and brackets holding panels to the roof. Tighten loose bolts with an appropriate wrench. If corroded, call a technician for replacement.
Bird droppings or moss growth. Clean panels gently with a soft brush and water from a hose. Never use a pressure washer, as it can damage seals and force water into the panel frame.
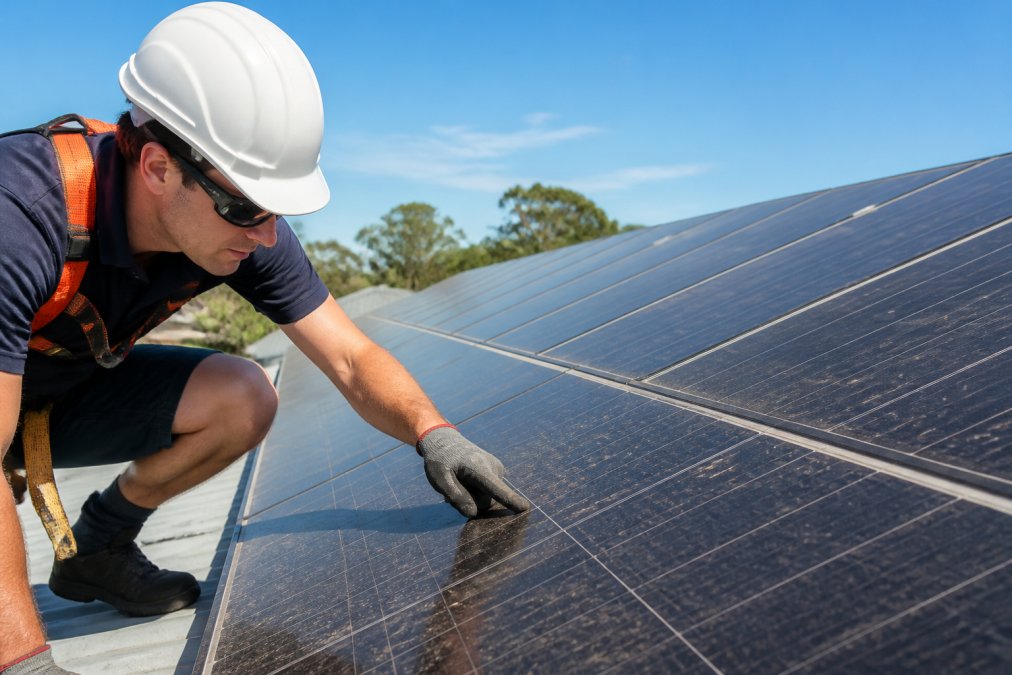
Most panel damage is visible from the ground with binoculars. Don’t climb on the roof unless experienced with roof safety.
Understanding Solar Inverter Fault Codes
Your inverter constantly monitors the system and displays error codes when something goes wrong. These codes tell you exactly what’s failing.
Common fault codes include:
Ground Fault. Current is leaking from the DC wiring to ground somewhere in the array. Check all visible wiring connections for moisture, damage, or corrosion. If wiring looks intact, the fault is likely inside a panel or buried conduit; call a CEC-accredited solar electrician.
Arc Fault. This indicates arcing (electrical sparking) inside the wiring or a panel. Shut down the system immediately. Arcing generates heat and can start fires. Do not restart until a technician has diagnosed and fixed it.
Over-Voltage. The inverter is receiving more voltage than designed to handle. Check that your AC disconnect is properly connected. If the error persists, contact your electricity distributor and inverter manufacturer.
Under-Voltage. Voltage is too low, usually from undersized AC wiring or loose connections. Check all visible AC connections where the inverter connects to your switchboard.
Temperature Fault. The inverter is too hot. Ensure proper ventilation and don’t block cooling vents. If the error happens on moderate days, the cooling system may be failing.
Isolation Fault. The system has lost connection to ground. Check that the earth wire from the inverter to your switchboard is connected and undamaged.
Write down the exact error code and time it appeared. If it clears on its own, it’s usually temporary. If it repeats, take a photo and call a technician. Most inverters log fault history; ask your technician to pull the log to see if the fault is intermittent or persistent.
Testing Electrical Connections and Circuit Breakers
Loose connections are one of the most common causes of underperformance. Electricity generates heat, causing metal to expand and bolts to loosen over time.
Checking the AC disconnect. This switch sits between your inverter and switchboard. Turn it off, then back on. If it’s stiff or doesn’t click firmly, the contacts inside may be corroded. A stiff disconnect suggests internal corrosion; call a technician to replace it.
Inspecting the DC disconnect. This switch sits between the solar array and inverter, usually on the roof. Look at the terminals where wires connect. If you see green or white corrosion, the connection is degrading. Turn off both disconnects, then carefully loosen the corroded terminal bolts and clean with a dry cloth. Tighten firmly. If corrosion returns within weeks, the disconnect needs replacement.
Testing circuit breakers. Your solar system has its own circuit breaker in your main switchboard, usually labeled "Solar" or "PV." Turn it off, wait 10 seconds, and turn it back on. If the breaker trips immediately, there’s a short circuit somewhere. Turn it off and call a technician. If it stays on, the breaker is working correctly.
Checking AC wiring connections. The AC cable from the inverter to your switchboard carries power to your home. If loose, voltage drops and the system underperforms. Look at where the AC cable enters the switchboard; the connection should be tight. Use a multimeter to measure voltage at the inverter output and switchboard input. If the switchboard voltage is noticeably lower (more than 2 volts), the AC wiring has excessive resistance from a loose connection or undersized wire.
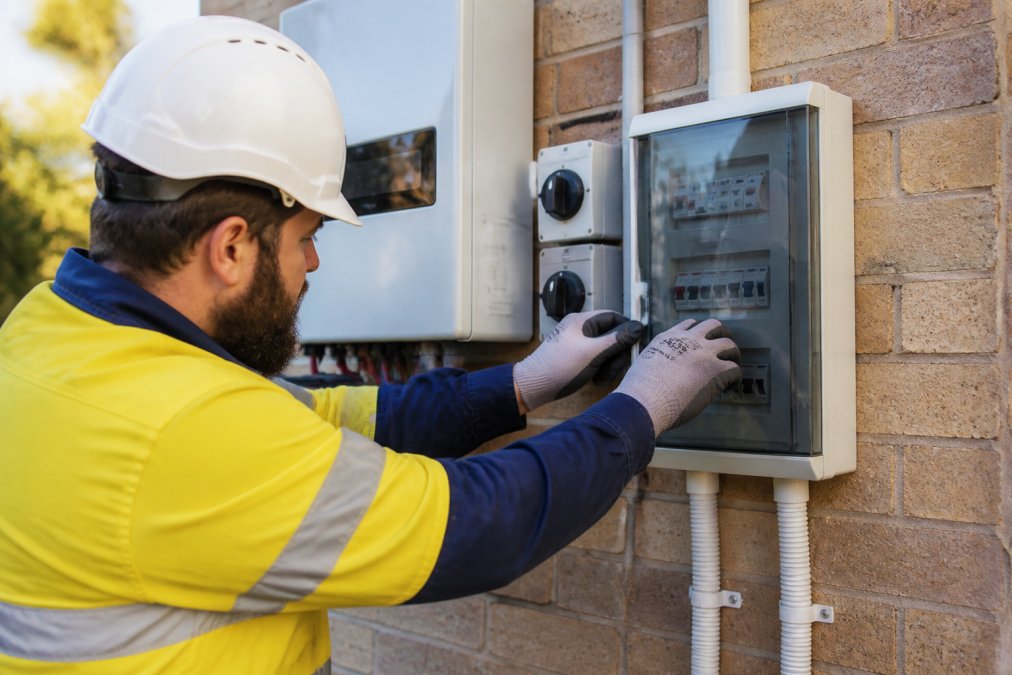
Do not open your switchboard if you’re not qualified. Hire a CEC-accredited solar electrician to check AC connections inside the switchboard. Working inside a live switchboard can be fatal.
Monitoring System Performance and Output
Your monitoring system (usually an app or web portal) shows how well your solar system is performing. Learning to read it correctly saves you from chasing phantom problems.
Most monitoring systems show:
Real-time power output. On a sunny day, a typical 5 kW system should generate close to 5 kW around midday. On partly cloudy days, expect 50-70% of rated capacity. On overcast days, expect 10-30%. Consistently lower output indicates a problem.
Daily energy generation. A 5 kW system in a sunny location should generate 15-25 kWh on a clear day, depending on season ([EXTERNAL_LINK: Australian Government Clean Energy Regulator data on typical solar output | cleanenergyregulator.gov.au]). Winter days are shorter and the sun is lower, so expect less. Sudden drops (not gradual seasonal changes) warrant investigation.
Cumulative generation. This shows total energy produced since installation. It should increase every sunny day. If it stays flat for more than a day, the system has shut down; check for error codes.
System efficiency. A well-functioning system is typically 75-85% efficient. If efficiency drops below 70%, investigate shading, soiling, or inverter faults.
Comparing to weather. Check Bureau of Meteorology data for your location. If it was sunny but output was low, your system has a problem. If it was cloudy, low output is normal.
Common performance issues:
- Output drops 20-30% suddenly: Usually shading or soiling.
- Output drops 50%+ suddenly: Likely an inverter fault or DC disconnect issue.
- Output consistently 10-20% below expected: Possible wiring losses, micro-inverter failure, or chronic shading.
- Output varies wildly on clear days: Intermittent faults.
Set a baseline on your first clear day after installation. Use this as your benchmark for any significant deviations.
Addressing Shading, Soiling, and Debris Buildup
Shading is the silent killer of solar output. Even partial shade on one panel can reduce the entire array’s output by 20-30% if panels are wired in series ([EXTERNAL_LINK: research on partial shading effects on PV systems | researchgate.net]). Soiling (dust, pollen, bird droppings, leaves) reduces output by 5-25% depending on severity.
Identifying shading problems. Walk around your property at different times of day. Look for shadows from trees, buildings, chimneys, or power lines falling on the array. Check your monitoring app when shadows appear. Does output drop? If yes, you’ve found the culprit.
Seasonal shading changes. Trees grow taller and neighbouring buildings cast longer shadows in winter. Your shading situation changes throughout the year. If output drops in winter but recovers in summer, seasonal shading is the cause.
Cleaning soiling. Clean panels gently with a soft brush and water from a hose in early morning or late afternoon when panels are cool. Never use a pressure washer or abrasive materials. If panels are on a steep roof, hire a professional cleaning service. The cost (pricing depends on quantity, dates, and delivery) is worth it if soiling is costing you significant output.
Debris removal. Remove leaves, twigs, and bird droppings by hand or with a soft brush. If leaves consistently accumulate in one spot, trim the branch or accept regular cleaning as part of maintenance.
Monitoring the impact. Check output before and after cleaning. A good cleaning can recover 10-20% of lost output on a soiled array. If cleaning doesn’t improve output, the problem is shading or an electrical fault.
When to Call a CEC-Accredited Solar Electrician
You can troubleshoot solar system issues yourself up to a point. Some problems require professional diagnosis and repair.
Call a technician if:
- You see any unrecognised error code or one that repeats frequently
- You suspect a ground fault or arc fault
- You find corroded or loose connections inside the DC disconnect or switchboard
- Output drops more than 30% without an obvious cause
- The inverter won’t reset after turning off the disconnects
- You smell burning plastic, see smoke, or hear unusual buzzing
- A circuit breaker trips repeatedly
- You’re uncomfortable working with electricity
A CEC-accredited solar electrician has the training and tools to safely diagnose electrical faults, test wiring integrity, use thermal imaging to spot hot spots, and access detailed inverter logs. They can also handle warranty claims properly.
Solazone Australia has been helping homeowners and businesses diagnose and fix solar system issues for over 40 years. With a team trained in the latest solar technologies and Australian standards, we can identify problems quickly and get your system back to full output.
A CEC-accredited solar electrician typically charges for a diagnostic visit. If diagnosis leads to repairs, that cost is often credited toward the repair bill.
Solar system troubleshooting starts with safety and observation. Most common issues, shading, soiling, loose connections, and inverter faults, can be identified by careful inspection and monitoring data review. But when the problem isn’t obvious or involves electrical components, a CEC-accredited solar electrician is your best investment. Solazone Australia’s 40 years of technical expertise means we know exactly what to look for and how to fix it fast. If your system isn’t performing, contact Solazone Australia for a professional assessment and get back to generating the power you’re paying for.
Frequently Asked Questions
Why is my solar inverter showing a fault code?
Inverter fault codes signal issues ranging from minor to serious. Common causes include loose wiring, voltage fluctuations, ground faults, or temperature overload. Check your monitoring app or inverter display for the specific error code, then cross-reference it with your manual or system documentation. Some faults resolve automatically after a system reset; others need professional inspection. If the code persists after troubleshooting, contact a CEC-accredited solar electrician to prevent further damage.
How do I know if my solar panels are working correctly?
Monitor your system's output through your solar system performance monitoring app or inverter display. On clear days, your system should produce power consistent with your system size and local sunlight conditions. Check for physical damage: cracks, discolouration, or visible debris on panels reduce efficiency. Compare your monthly energy output to previous months, a sudden drop suggests a problem. If output is consistently lower than expected, shading, soiling, or internal faults may be present.
Can I fix my own solar system or do I need a CEC-accredited solar electrician?
Basic maintenance like cleaning panels and checking visible connections is safe for homeowners. However, any work involving electrical components, rewiring, inverter repairs, or battery systems must be performed by a CEC-accredited solar electrician. Warranty claims often require professional documentation and work. Electrical safety standards and grid connection rules require qualified technicians. If you're unsure whether a fault is electrical or mechanical, contact a CEC-accredited professional. Your safety and system warranty depend on proper installation and repair.
What should I do if my solar system stops producing power?
First, check that all AC/DC disconnect switches are in the ON position, they may have tripped during a storm or power surge. Verify your circuit breakers haven't blown; reset any that are in the OFF position. Check your monitoring app for inverter error codes or system status. Inspect panels for visible damage, shading, or heavy soiling. If it's nighttime, that's normal; solar systems don't produce power without sunlight. If faults persist during daylight and all switches are on, document the error codes and contact a CEC-accredited solar electrician or your installer immediately.
This article was written using GrandRanker