
Table of Contents
- Understanding Solar Panel Installation Timeline Expectations
- Solar Panel Installation Steps: From Design to Activation
- Factors Affecting Solar Installation Duration
- The Solar System Grid Connection Process
- Breaking Down the Timeline: Physical Installation vs Total Project Duration
- How to Prepare Your Home and Minimise Delays
- What Happens After Installation: System Handover and Monitoring
- Frequently Asked Questions
Last Updated: September 3, 2026
Understanding Solar Panel Installation Timeline Expectations
When considering solar for your home or business, the key question is: how long will this take? The answer involves two distinct phases that are often conflated. There’s the physical installation, typically one to three days of crews mounting panels and running wiring, and everything else: months of permitting, approvals, utility coordination, and regulatory compliance. Understanding this distinction is critical for realistic planning.
At Solazone Australia, we’ve guided thousands of homeowners through this process. The timeline varies significantly based on location, local council requirements, utility provider responsiveness, and system complexity. Below, we’ll break down exactly what happens at each stage, what causes delays, and how to prepare your home to minimise waiting periods.
Solar Panel Installation Steps: From Design to Activation
The journey from decision to active system follows a predictable sequence, though duration depends heavily on your specific circumstances and local regulatory environment.
Site assessment and system design
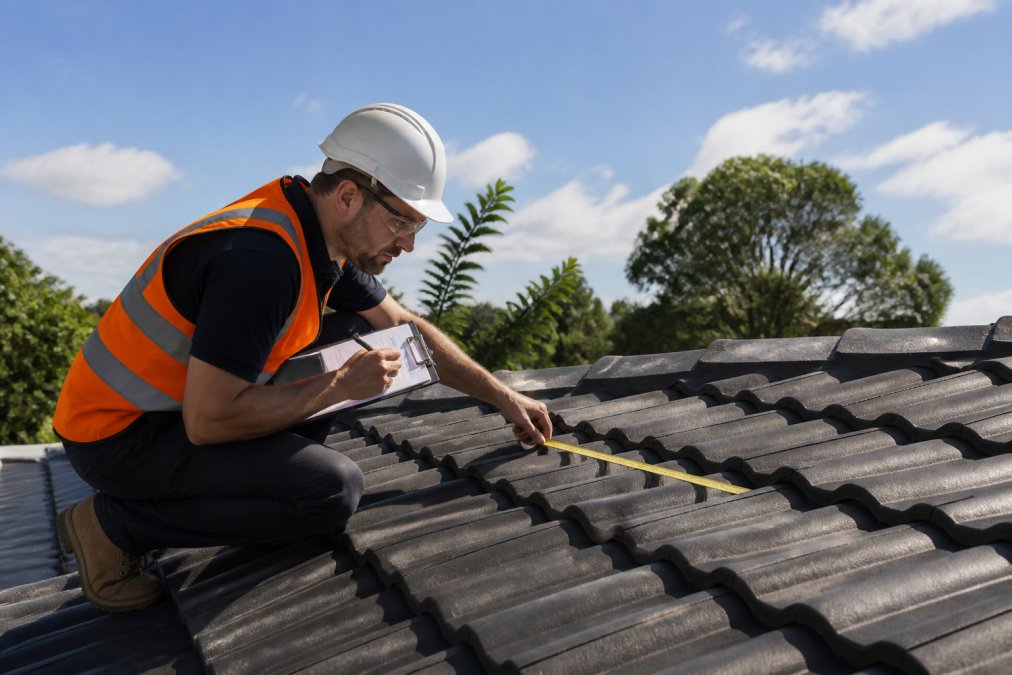
Your solar journey begins with a site assessment, a detailed evaluation of your roof, structural integrity, shading patterns, electrical setup, and energy consumption. This typically takes one to two weeks from initial contact to completed design.
During assessment, a technician evaluates roof orientation, pitch, and structural capacity, checks for shading from trees or buildings, and reviews your electrical panel, wiring, and meter configuration. They analyse energy usage patterns to size a system that matches your needs.
The system design phase produces detailed engineering drawings, electrical schematics, and a bill of materials, essential for permitting. A well-designed system considers future additions like battery storage or electric vehicle charging.
Permitting and regulatory approvals
This phase is where timelines become unpredictable. Permitting requirements vary significantly across local councils and states. Some councils process applications in two to three weeks; others take two to three months, particularly with backlogs or heritage-listed properties.
You’ll need approval from your local council covering building standards, electrical safety, and planning considerations. Your electrical safety authority must also approve the installation design before work begins. Your installer typically handles this paperwork, though responsiveness varies.
Feed-in tariff registration, allowing you to export excess solar power and receive payment, happens after installation but can take additional weeks depending on your distributor’s workload.
Physical installation day
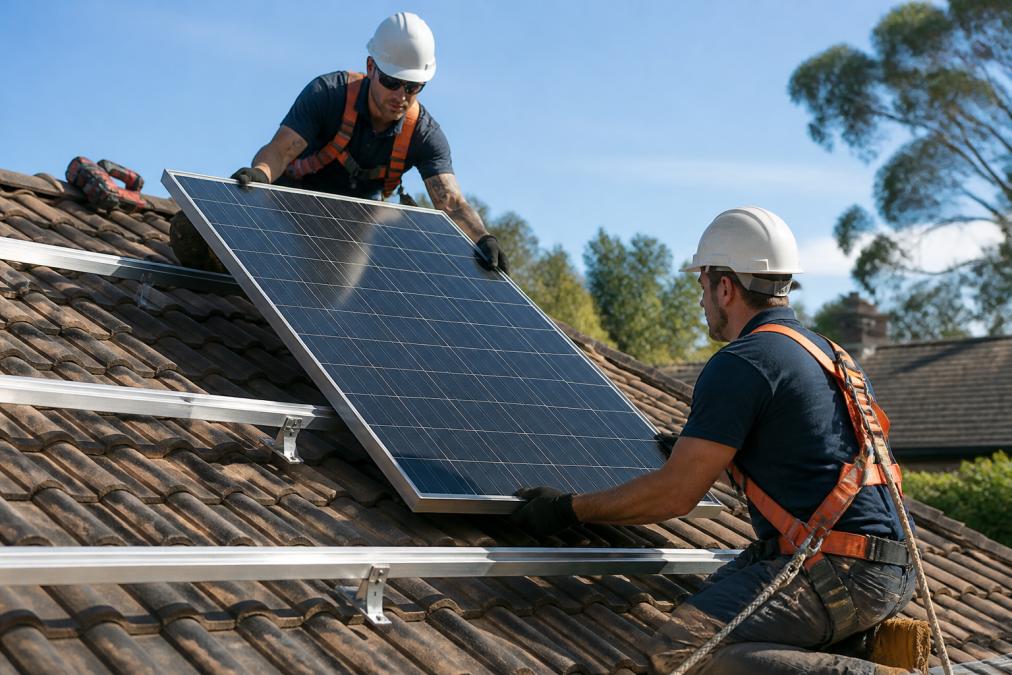
Physical installation typically takes one to three days depending on system size and roof complexity (cleanenergycouncil.org.au). Day one usually involves mounting rails and panels, running DC wiring, and installing the inverter and switchboard. Day two involves final electrical connections, safety testing, and documentation. A straightforward pitched roof might finish in one day; a complex roof with multiple angles could require two to three days.
Electrical safety inspection and system commissioning
After physical installation, an accredited electrical inspector must verify the system meets safety standards before operation. This typically happens within one to two weeks of installation completion.
The inspector checks that wiring meets electrical codes, the inverter is correctly configured, safety switches operate properly, and the system is earthed correctly. Once approved, the system is commissioned and switched on to confirm it’s producing power correctly.
Factors Affecting Solar Installation Duration
Several variables determine whether your project moves quickly or stalls for months.
Local council responsiveness is the biggest variable. Some councils process applications within two weeks; others require detailed review. Council backlogs, staffing levels, and local policies all affect timing. Your installer should have experience with your specific council and know what to expect.
System size and complexity influence both design and installation time. A simple 5kW system on a straightforward pitched roof moves faster than a 10kW system on a complex multi-level roof.
Supply chain factors occasionally create delays. Most installers maintain stock of common components, but unusual circumstances can cause delays.
Your roof condition affects timeline. If your roof needs repairs before solar installation, that adds weeks.
Utility provider responsiveness determines when your system can connect to the grid. Some distributors process applications within weeks; others take months during peak seasons.
Your availability matters too. Coordinating between your schedule, the installer’s crew, and the inspector requires flexibility.
The Solar System Grid Connection Process
Grid connection is where many projects experience their longest delays, yet it’s often the least understood phase.
Utility approval and meter upgrade timelines
Before your system can export power to the grid, your utility distributor must approve the connection and potentially upgrade your meter. This typically takes four to twelve weeks, though it can stretch longer during busy seasons.
The distributor reviews your system specifications to ensure it won’t destabilise the local network and assesses whether your meter needs upgrading to a bidirectional meter. Some distributors have simplified processes and clear timelines; others are opaque about application status.
Meter upgrades, when required, typically take two to four weeks once approved. A technician replaces your existing meter with one that measures both import and export.
Feed-in tariff registration
Once your system is operating and your meter is upgraded, you need to register for the feed-in tariff, the scheme that pays you for excess solar power exported to the grid. Registration typically takes two to six weeks.
You’ll provide proof of system installation, meter details, and bank account information. Feed-in tariff rates vary by state and sometimes by distributor, so it’s worth understanding what rate you’ll receive.
Breaking Down the Timeline: Physical Installation vs Total Project Duration
Here’s where clarity matters most. People often say “solar installation takes three days” and then get frustrated when the total project takes five months. These are two completely different timeframes.
Physical installation day: one to three days. This is the actual work on your roof and electrical system. Your panels get mounted, your inverter gets installed, your wiring gets connected, and your system gets tested.
Total project timeline: two to six months. This spans from initial contact through to receiving feed-in tariff payments. It includes site assessment (one to two weeks), design (one to two weeks), permitting (two to twelve weeks), installation (one to three days), inspection (one to two weeks), utility connection approval (four to twelve weeks), meter upgrade (two to four weeks), and feed-in tariff registration (two to six weeks).
The physical installation is genuinely quick. Everything else, waiting for approvals, coordinating with councils and utilities, administrative processing, is where time accumulates. Most projects in metropolitan areas with responsive councils and utilities complete within three to four months (cleanenergycouncil.org.au). Regional areas or councils with longer processing times might take five to six months.
How to Prepare Your Home and Minimise Delays
You can’t eliminate waiting periods controlled by councils and utilities, but you can eliminate delays within your control.
Prepare your roof before contacting an installer. If your roof needs repairs, address them first. Leaks, missing tiles, or deteriorating sections must be fixed before solar installation.
Ensure clear roof access. Remove obstacles, trim tree branches that might interfere with installation, and ensure the crew can safely access your roof.
Prepare your electrical panel. Make sure your electrical panel is accessible and any issues are noted.
Gather documentation early. Have your recent electricity bills ready and provide clear information about your roof layout and any future plans like battery storage or EV charging.
Be responsive to your installer. When they need information, provide it quickly. When they need access to your property, be available.
Understand your local council’s requirements. Ask about your council’s typical processing times and any specific requirements for your area before choosing an installer.
Choose an experienced installer. An installer with experience in your area knows local council processes, typical timelines, and common complications. Solazone Australia’s four decades of technical expertise across different regions means we understand regional variations and can navigate local requirements efficiently.
What Happens After Installation: System Handover and Monitoring
Once your system is commissioned and connected to the grid, you receive a system handover with documentation explaining how your system works, how to monitor performance, and what maintenance is required.
Your installer should provide a detailed manual covering your specific system components, how to access monitoring apps or displays, and what normal performance looks like. Most modern systems include monitoring apps showing real-time production, daily totals, and historical trends.
Maintenance requirements are minimal. Most systems need occasional cleaning if dust or bird droppings accumulate, and the inverter might need a firmware update every few years. An annual inspection by a qualified technician is good practice.
If you experience issues, contact your installer or a qualified solar technician. Common issues like inverter faults or loose connections are usually quick fixes. Your warranty covers defects.
The solar panel installation timeline spans months of administrative work compressed around a few days of actual installation. Understanding this reality helps you plan realistically and avoid frustration. The physical work is straightforward and fast; the waiting for approvals, inspections, and utility processing is where patience matters.
Solazone Australia’s experience managing projects across different regions means we understand these timelines intimately and can guide you through each phase with clear expectations. Our team handles the paperwork, manages approvals, and coordinates with councils and utilities so you don’t have to chase down updates. Contact Solazone Australia today to discuss your specific situation and get a realistic timeline for your project.
Frequently Asked Questions
How long does the physical installation on the roof actually take?
Physical installation typically takes 1-3 days depending on system size and roof complexity. A standard residential system can be mounted and wired in a single day. Larger systems or homes with complex roof layouts may require two to three days. This is the hands-on installation phase only, it does not include permitting, design, or grid connection, which add weeks or months to your total project timeline.
What is the average time it takes to install solar panels from start to finish?
Total solar panel installation timeline ranges from 2-6 months from initial consultation to system activation. The breakdown includes site assessment and design (1-2 weeks), permitting and council approval (2-8 weeks), physical installation (1-3 days), electrical inspection (1-2 weeks), and grid connection approval (2-6 weeks). The permitting and utility approval phases typically account for the longest waiting periods.
How long does the grid connection process take after solar installation?
Grid connection approval usually takes 2-6 weeks after your system is installed and inspected. Your utility provider must approve the connection, upgrade your meter if needed, and process your feed-in tariff application. Some providers move faster than others, and supply chain delays can extend timelines. Communication with your installer and utility helps identify bottlenecks early.
What factors cause delays in solar panel installation?
Common delays include council approval backlogs, utility meter shortages, roof structural issues discovered during site assessment, weather conditions affecting installation, and supply chain delays for equipment. Permit complexity, building code compliance requirements, and utility provider workload also impact timelines. Homeowner preparation, such as clearing roof access and confirming structural suitability, can help minimise avoidable delays.
This article was written using GrandRanker